1. Preparations before cupping:
(1) Carefully examine the patient to determine if they are suitable for cupping and if there are any contraindications. Prescribe accordingly based on the condition.
(2) Check if the necessary medication and equipment are available, then clean them one by one and arrange them in order.
(3) Explain the procedure to the patient, alleviate their fears, and enhance their confidence in the treatment.
2. Patient positioning: The effectiveness of cupping is closely related to the correct positioning of the patient. The correct position should make the patient feel comfortable, allow the muscles to relax, and expose the treatment area fully. Generally, the following positions are used:
(1) Supine position: Suitable for the forehead, chest, abdomen, and anterior parts of the limbs.
(2) Prone position: Suitable for the lower back, back, buttocks, and posterior parts of the limbs.
(3) Lateral position: Suitable for the side of the head, face, lateral chest, hip, and knee.
(4) Prone sitting position and sitting position: Suitable for the neck, back, upper limbs, and knees.
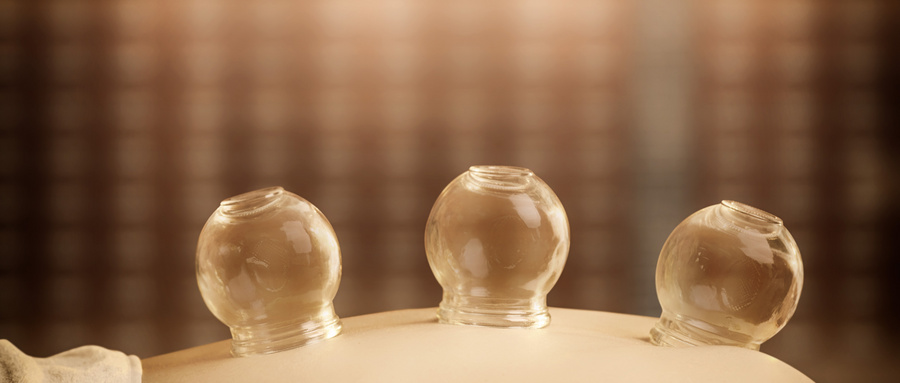
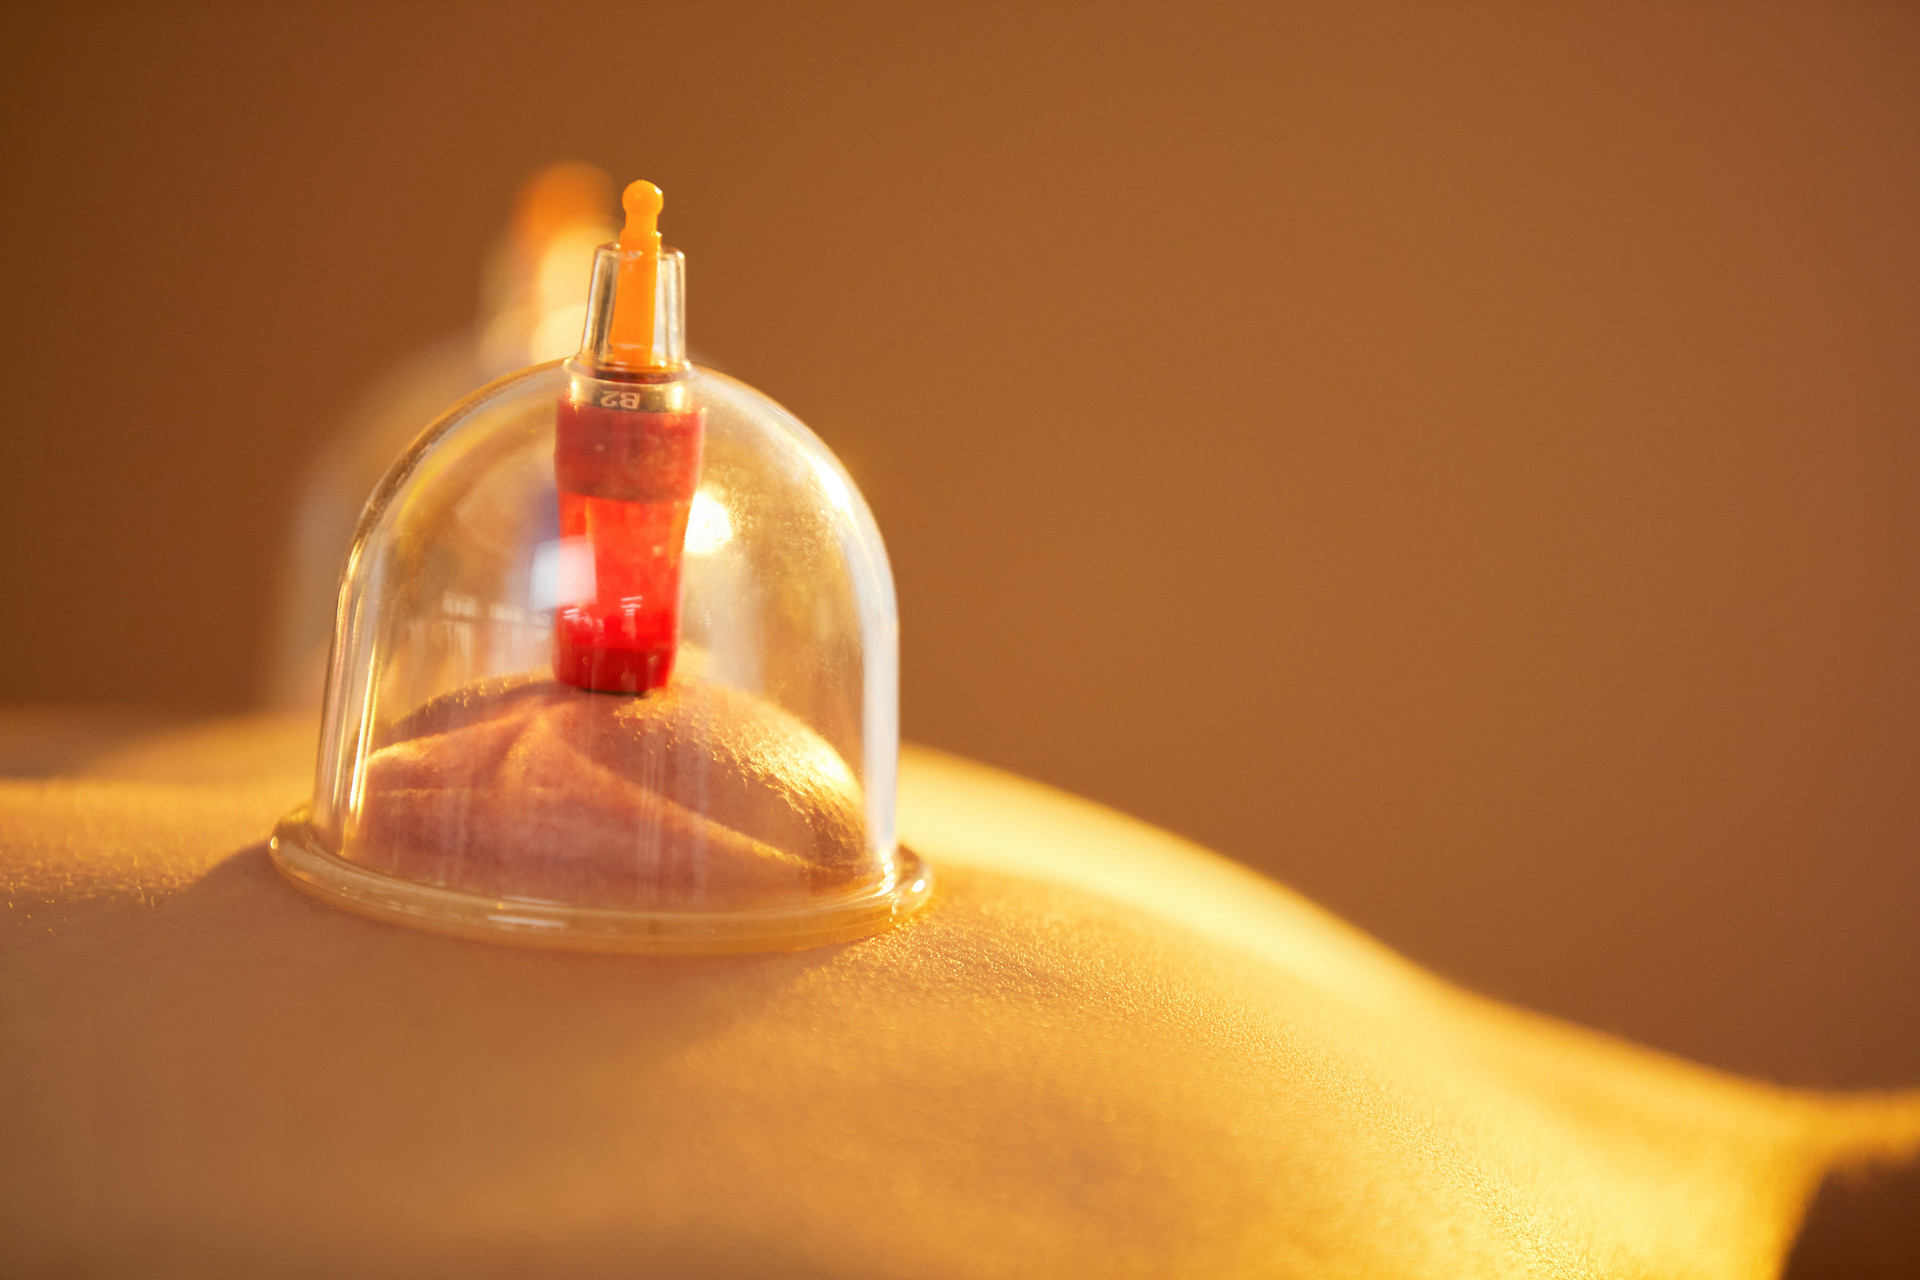
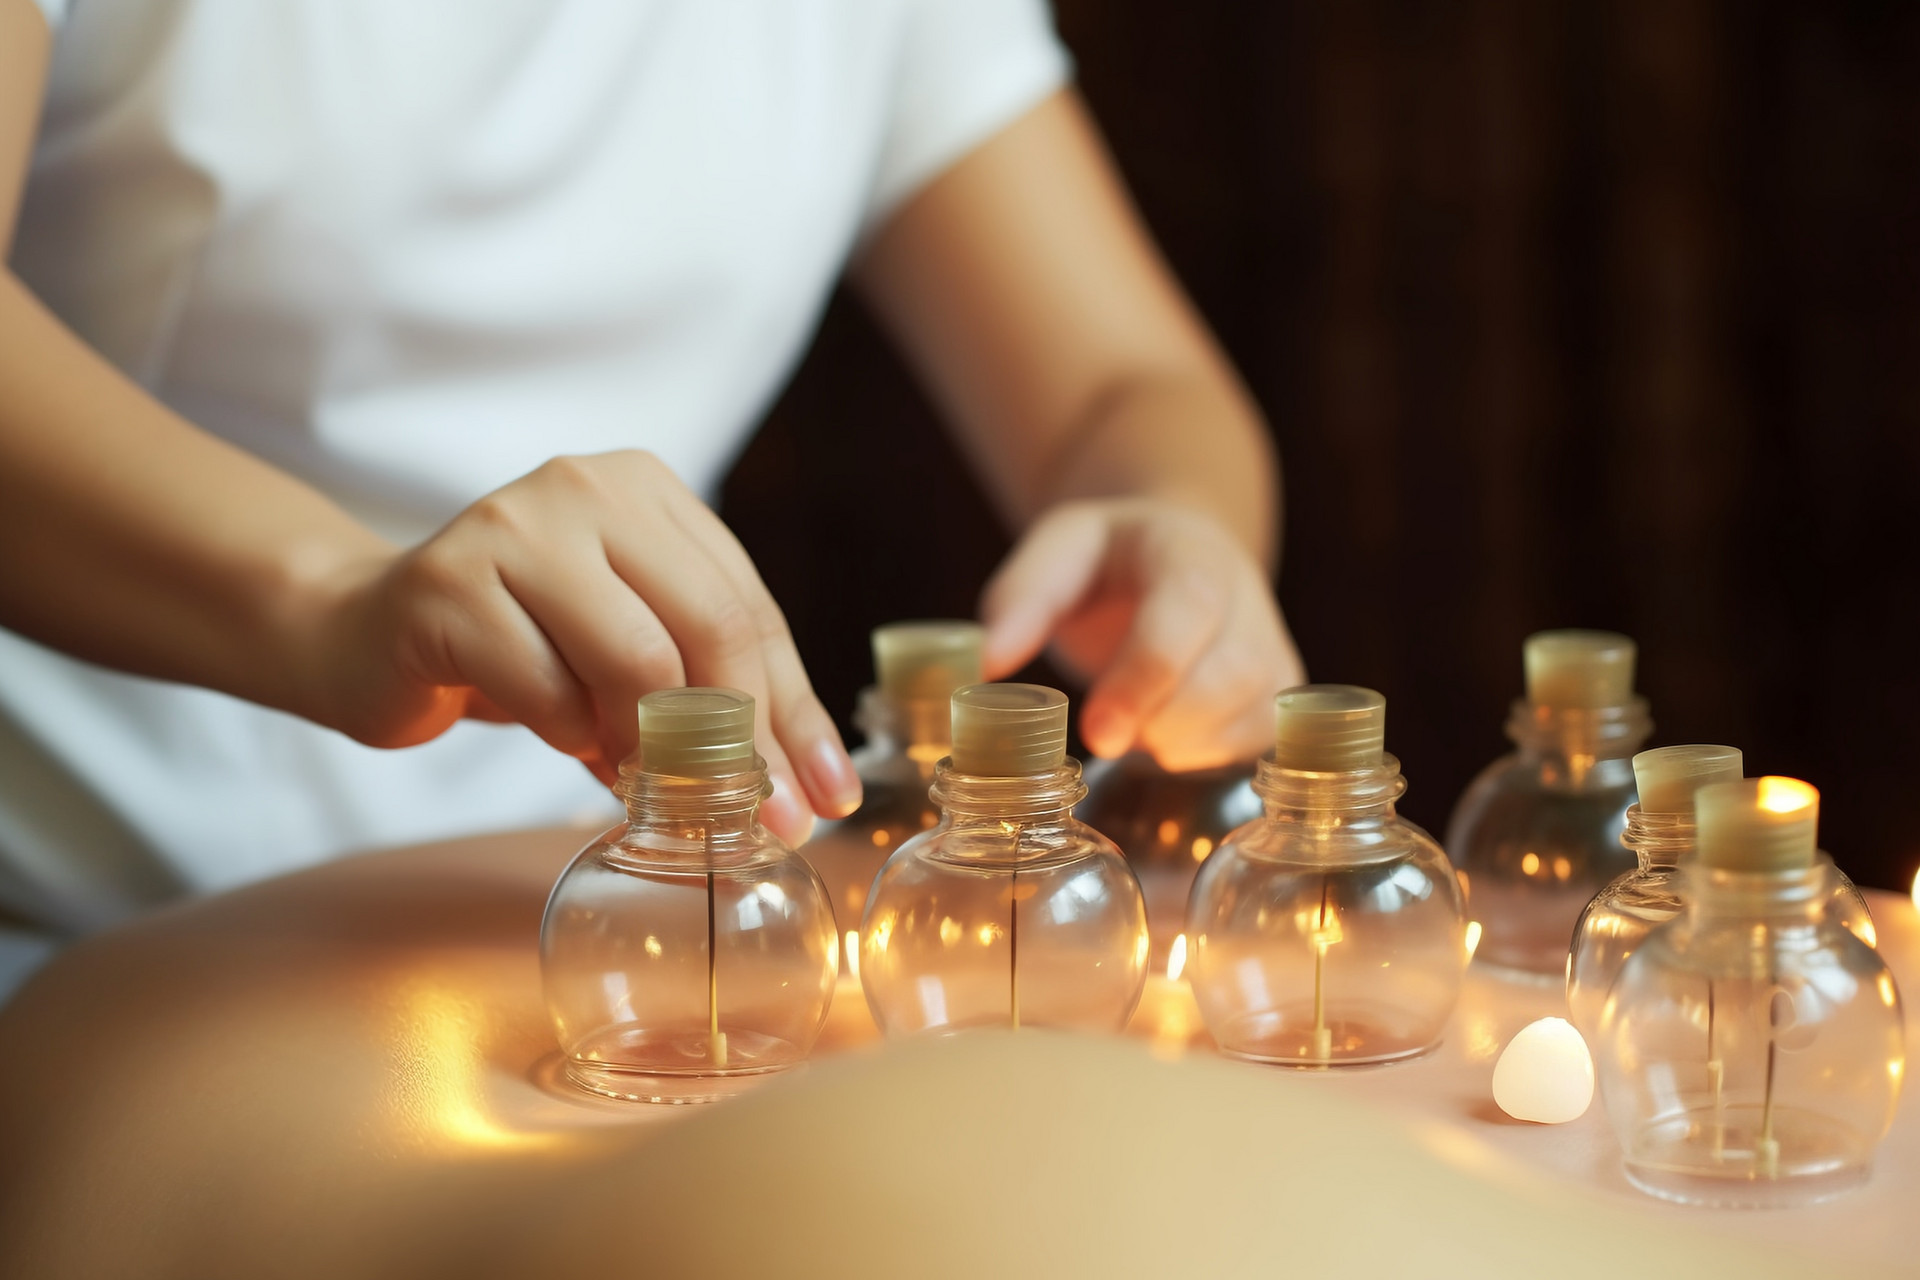
3. Cup selection: Choose a cup size that is appropriate for the size of the treatment area, the patient's physical condition, and the condition being treated. This can include cups made of fire, bamboo, or other materials.
4. Cleaning and disinfection: On the selected treatment area, first wash the affected area with a towel soaked in hot water, then dry it with a dry gauze. To prevent burns, alcohol or iodine disinfection is generally not used. If necessary for treatment, shaving should be done in areas with hair or near hair to prevent the risk of fire burns or infection.
5. Warming the cups: In winter or during cold weather in late autumn, early spring, to prevent the patient from feeling cold during cupping, the cups can be preheated over a fire. When warming the cups, only the bottom part should be heated, and the mouth should not be heated to avoid burns. The cups should be warmed until they are the same temperature as the skin or slightly higher than body temperature.
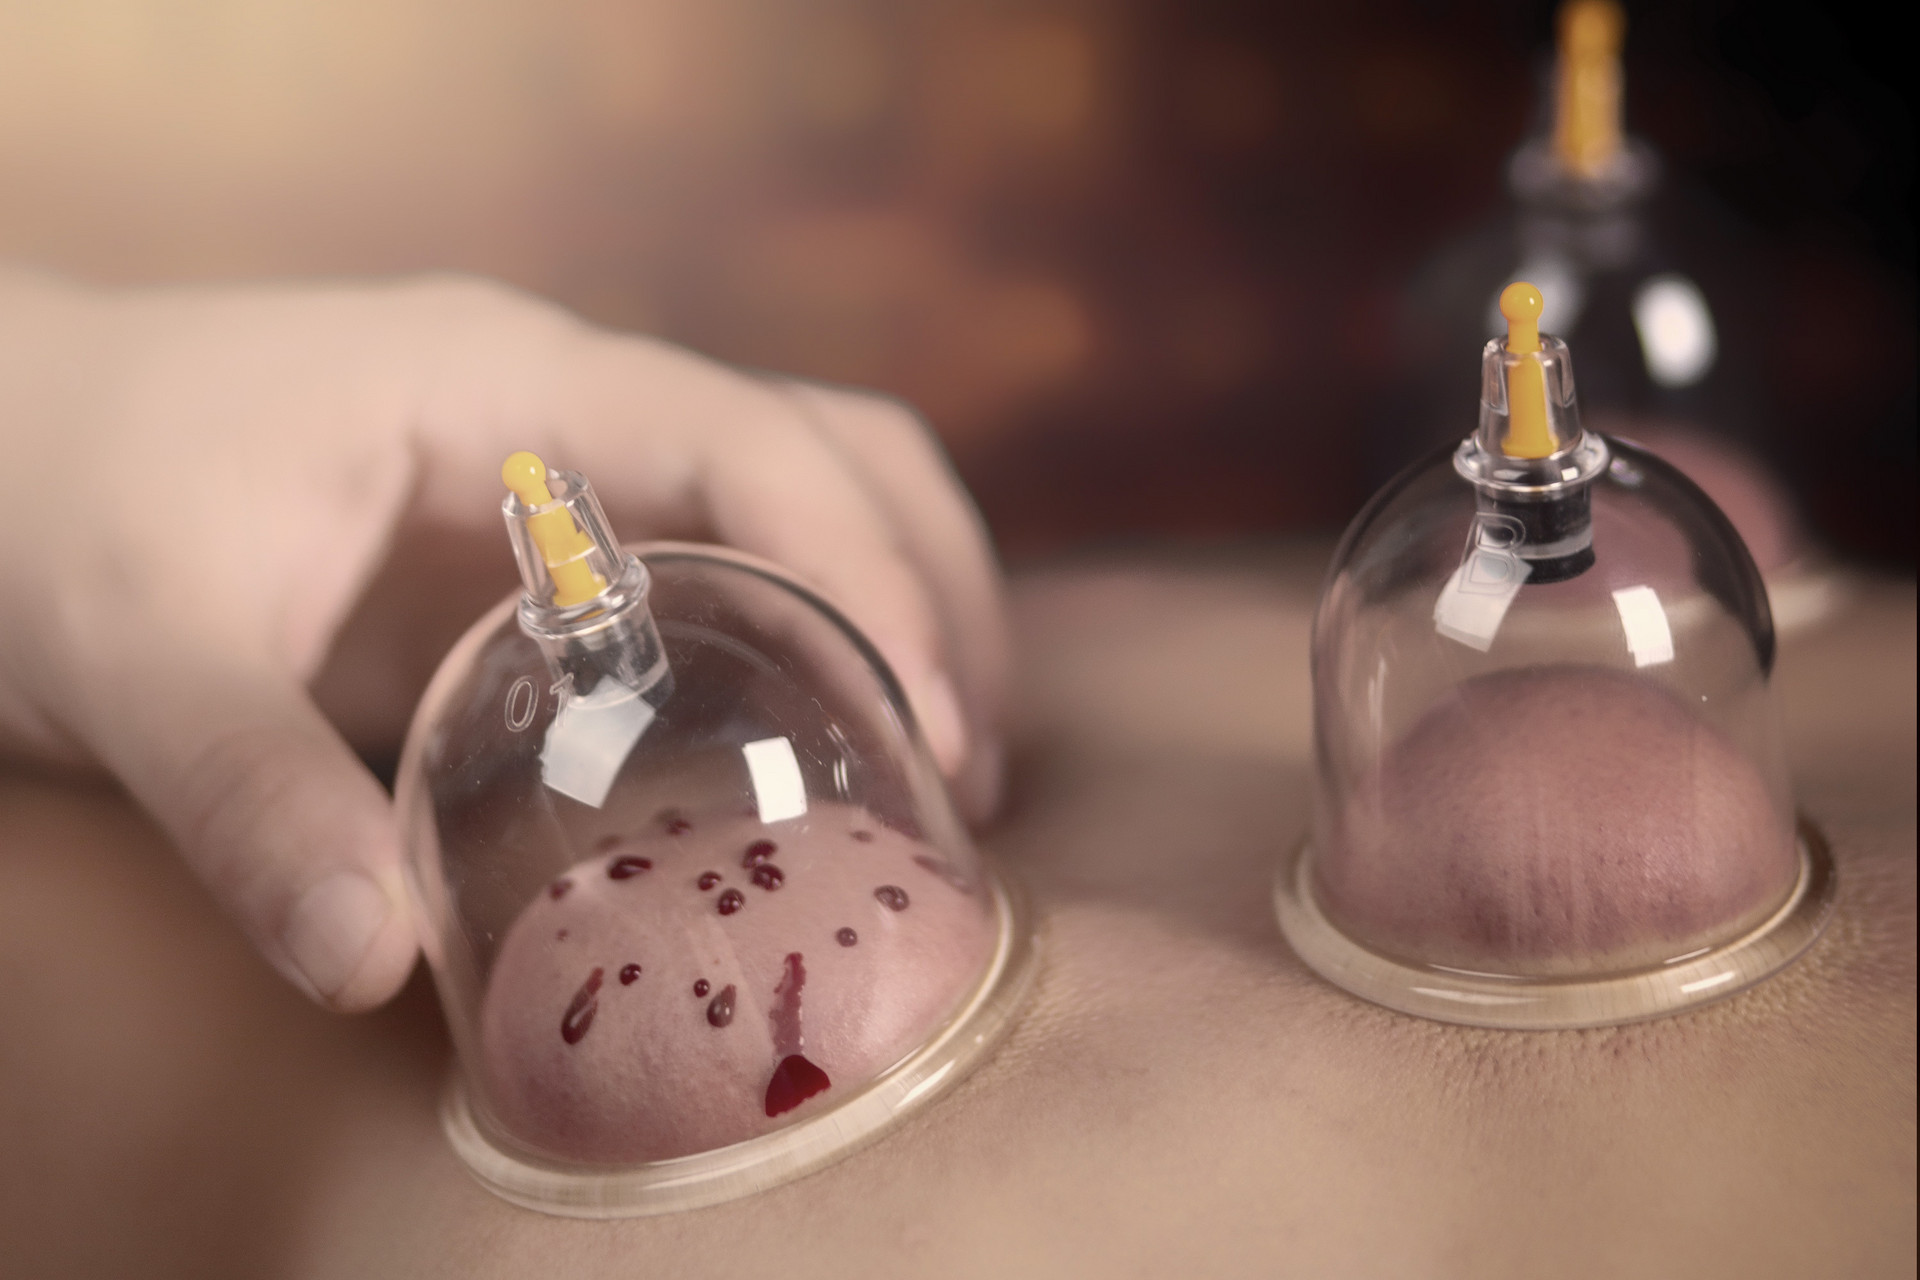
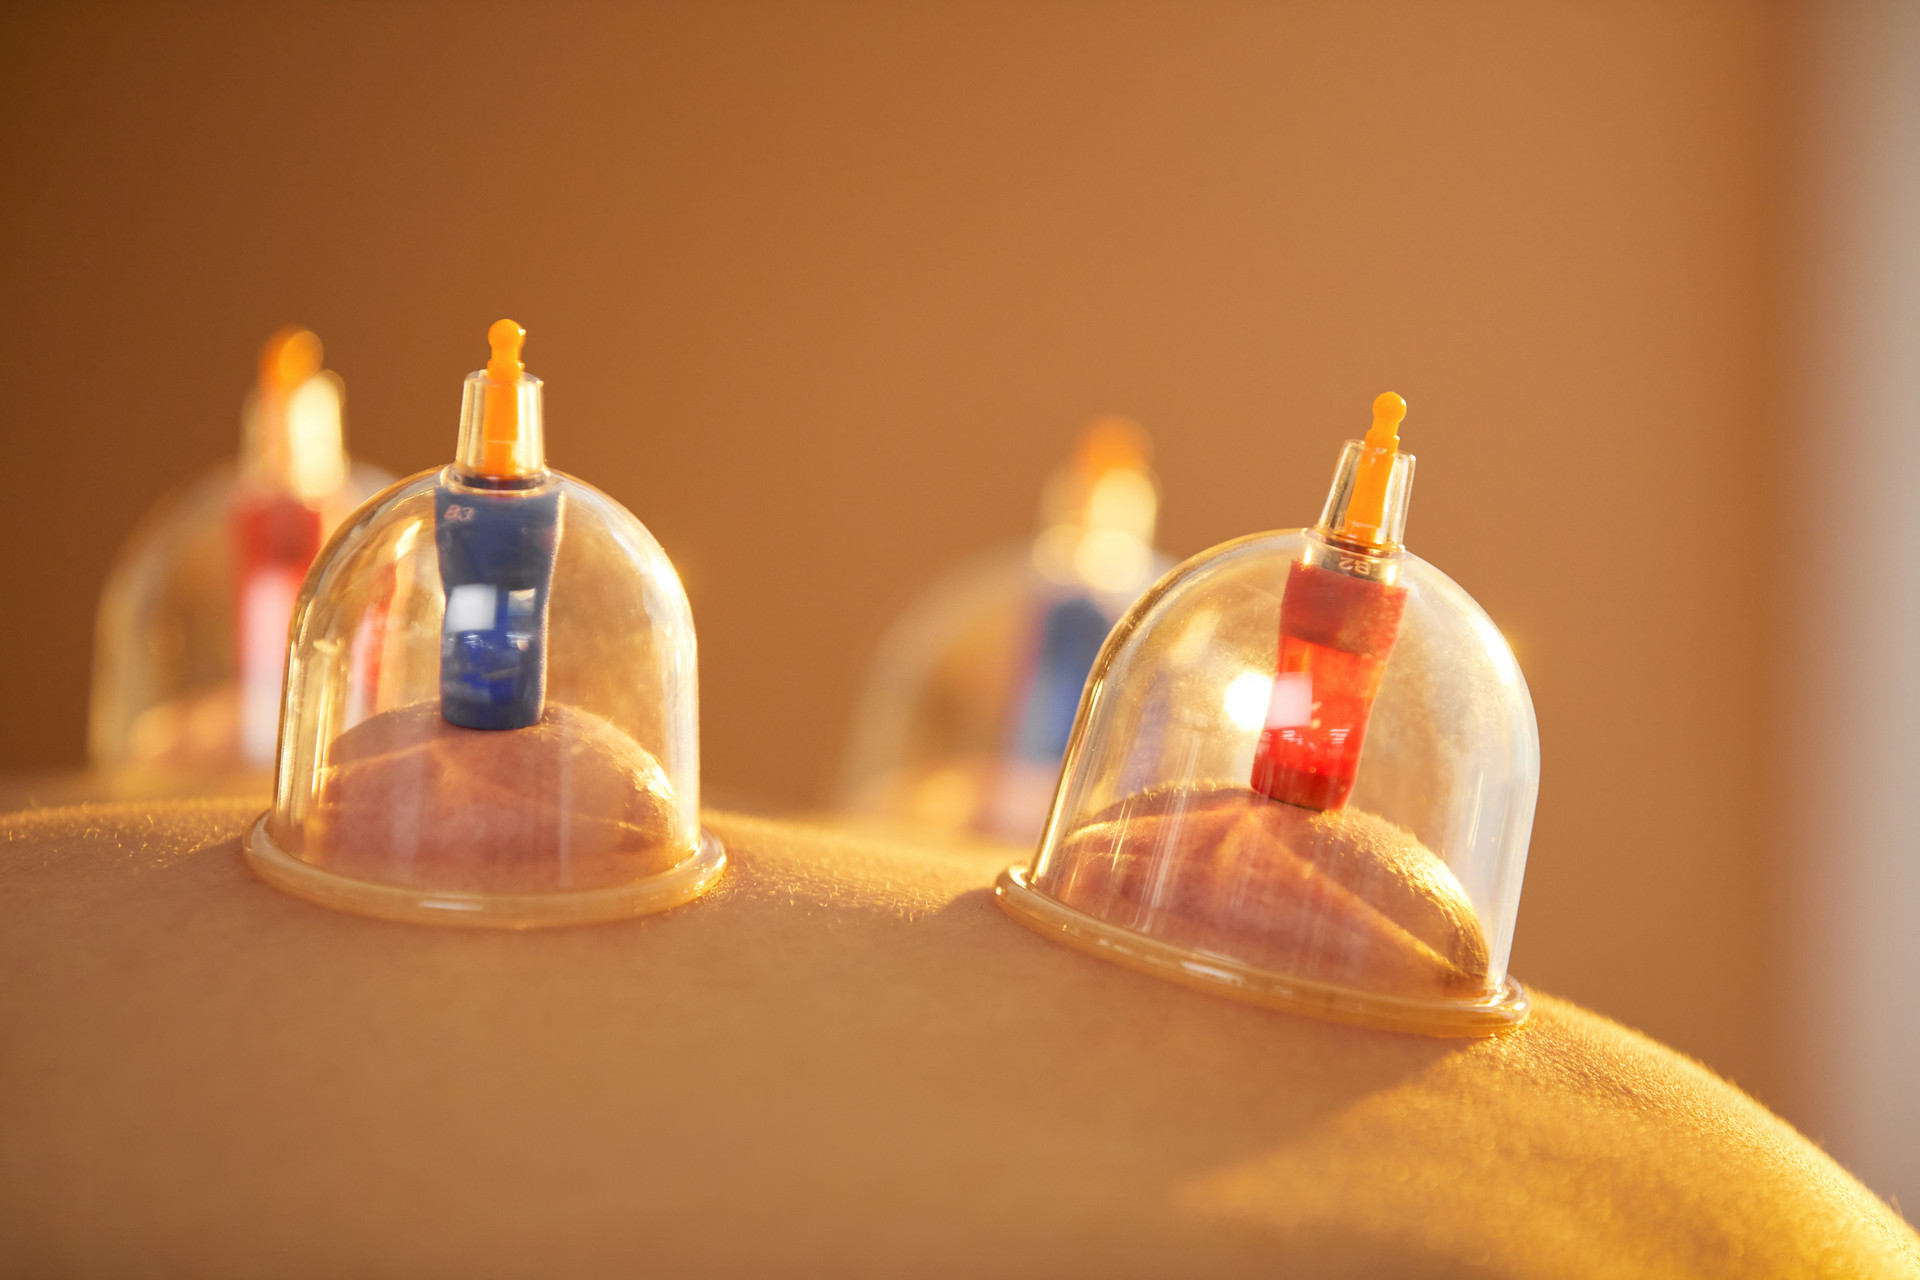
6. Cupping procedure: First, expose the selected treatment area. The practitioner approaches the patient and uses their dominant hand (left or right) to hold the cup and apply it using different methods. There are generally two methods of cup placement:
(1) Dense placement: The distance between cups should not exceed 1 inch. This method is used for patients with a strong physique and experiencing pain. It has sedative, analgesic, and anti-inflammatory effects, also known as the "stimulation method".
(2) Sparse placement: The distance between cups is 1-2 inches. This method is used for patients with weak physical condition, numbness in limbs, and general weakness. It is also known as the "gentle stimulation method".
7. Inquiry: After the cups are applied, continuously inquire about the patient's feelings (if glass cups are used, also observe the skin reaction inside the cups). If the suction of the cups is too strong and causes pain, a small amount of air should be released. The method is to hold the cup with the left hand slightly tilted and press the skin on the opposite side with the right finger to create a small gap, allowing air to slowly enter. When the desired level is reached, stop releasing air and reapply the cup. If the patient feels weak after cupping, they can sit up and have the cups applied again.
8. Cupping time: For large cups with strong suction, they can be applied for 5-10 minutes per session, while for small cups with weak suction, they can be applied for 10-15 minutes per session. Additionally, the cupping time should be adjusted flexibly based on the patient's age, physical condition, condition, treatment area, and course of treatment.
9. Number of cupping sessions: Once daily or every other day, with 10 sessions considered one course of treatment, with a rest period of 3-5 days in between.


